Mosaic Chalk Art is a fun way to create beautiful art outdoors with children, and also share messages and symbols of love and strength with your neighbors.
Mosaic Art: Chalk Mosaic for Kids & a Fun Outdoor Activity
Looking for a new idea that everyone in your family will enjoy doing together outside?
This is one of my favorite ways to get some fresh air with my three kids, while being creative and creating something beautiful for our neighbors.
Creating mosaic chalk art is really easy, and only requires two supplies and is a great creative outlet. It’s also really calming (which is something we all need right now in the world.)
It’s also a beautiful way to share messages and symbols of love and kindness with your neighbors.
The response we’ve gotten so far for the giant mosaic chalk heart we put on our garage has inspired my kids to think up new ideas for our other two garage doors!
What You’ll Need:
This is a pretty straight-forward art project that won’t require many supplies, and likely you already have them in your home.
Here’s what you’ll need to get started:
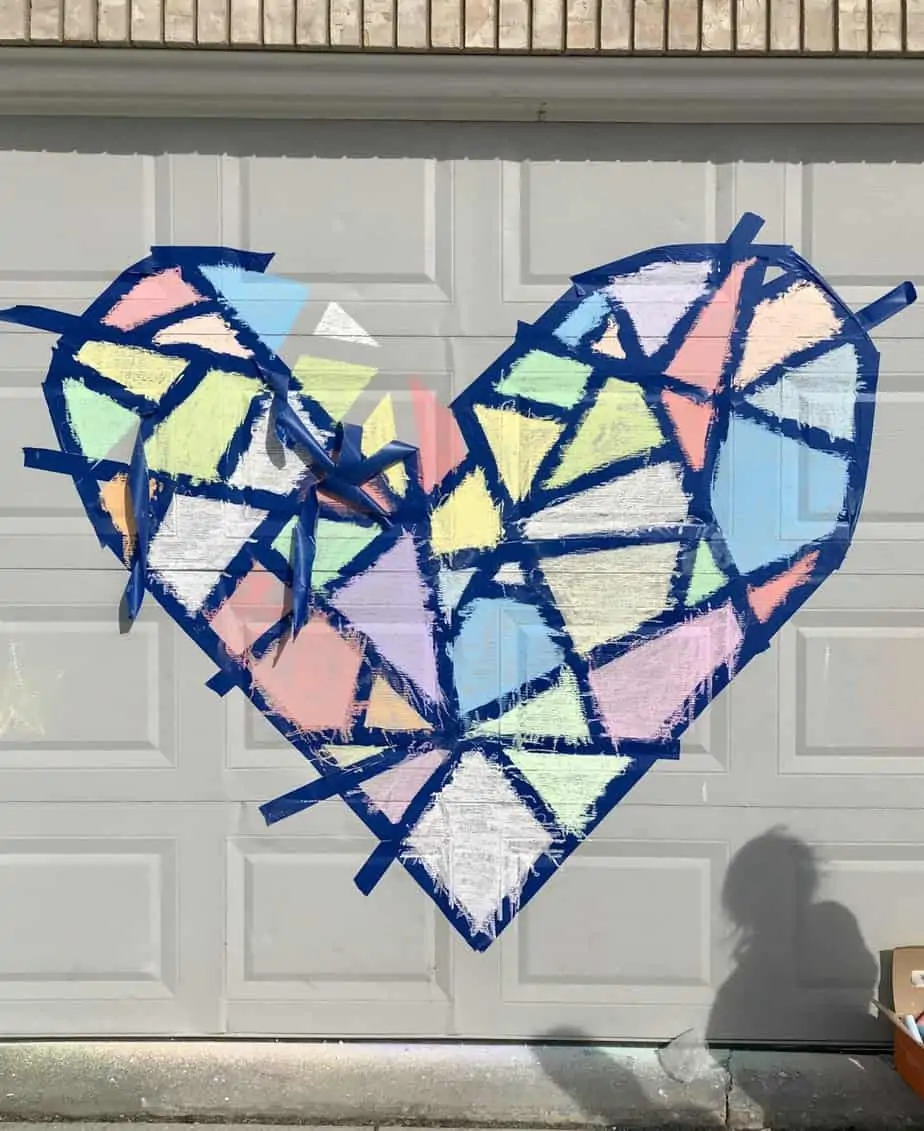
- Painter’s tape (a 1.88 inch painter’s tape gives you smaller lines, a 3-inch painter’s tape was used in the picture shown so your lines are bigger and spaced out more.) Don’t worry, this won’t remove paint or leave a mess on your painted surfaces.
- Sidewalk chalk in a handful of colors
- Bandana if you don’t want to breathe in the chalk in the air while you’re filling in the spaces (optional)
- Arm strength
How to Create Chalk Art Mosaics That Are Beautiful
Step 1: Find the Perfect Spot for Your Artwork
Where you choose to put your chalk mosaic is important. You can put it on the sidewalk or your driveway, but do you want others to see it?
If you do want to share the beauty of your art with others, simply choose a spot on your garage (like we did in the picture) or the side of your house that’s within view of your street or you’ll see in the backyard if you have guests over.
Painter’s tape tends to stick better on the surface of your house or garage too, depending on the type of ground you’re working with.
Step 2: Tape Up Your Design
Find a design you like and begin to outline it with the tape.
You’ll need to keep your pieces short so you can build in curves and roundness since painter’s tape is straight.
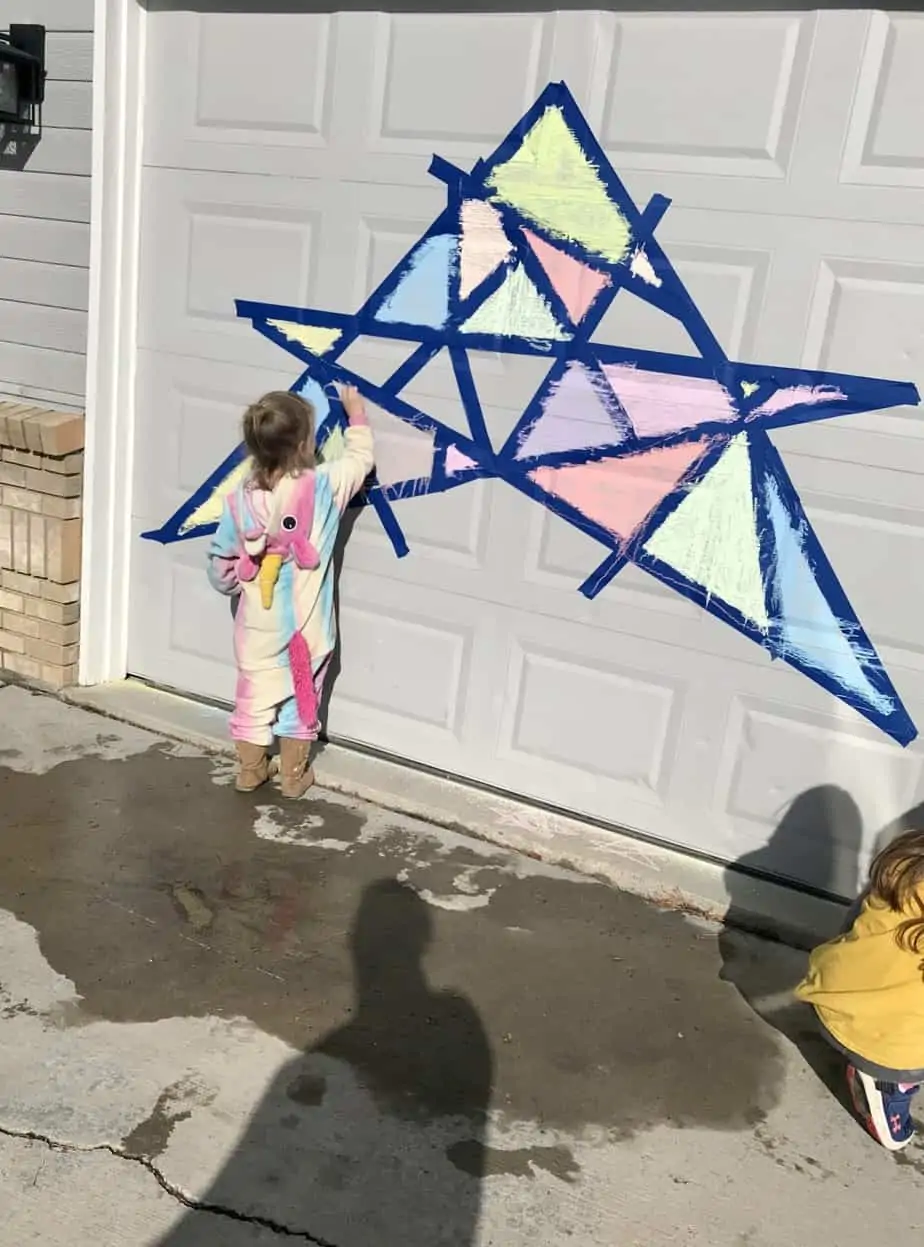
Once you’ve finished the outline of your design, begin to run pieces through the middle to create various sized and shaped areas. A mixture of big and small spread evenly throughout the design will give it balance.
Once you feel you’ve finished your taping, it’s time to start the fun part – filling it in with color!
Step 3: Color with Chalk
Fill in each space on your design, alternating colors and making sure there’s no spots that can be seen through the chalk.
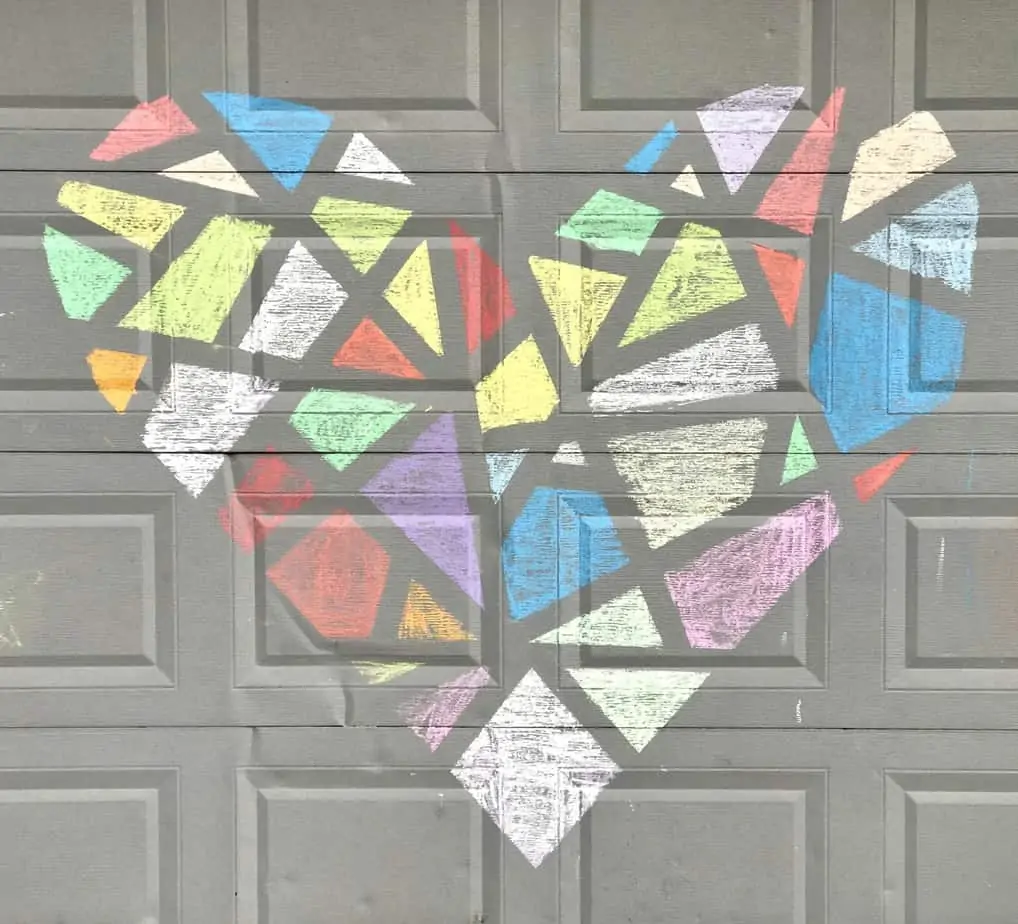
The better and thicker the coverage, the more your design will pop when the tape comes off!
You may need to color the top pieces of the mosaic depending on the height of your kids, but why shouldn’t Mom and Dad get in the fun, too!
Step 4: Remove the Tape
Once all the spaces have been filled completely with chalk, it’s time to take the tape off.
Gently peel the tape off, going slow (although it’s not messy like paint and you don’t risk smearing anything), until all the tape has been removed.
Then, stand back and admire the beautiful artwork you just created.
When you’re ready to do it again, or think of a new design, simply spray it with a hose to get the chalk off and let it dry.
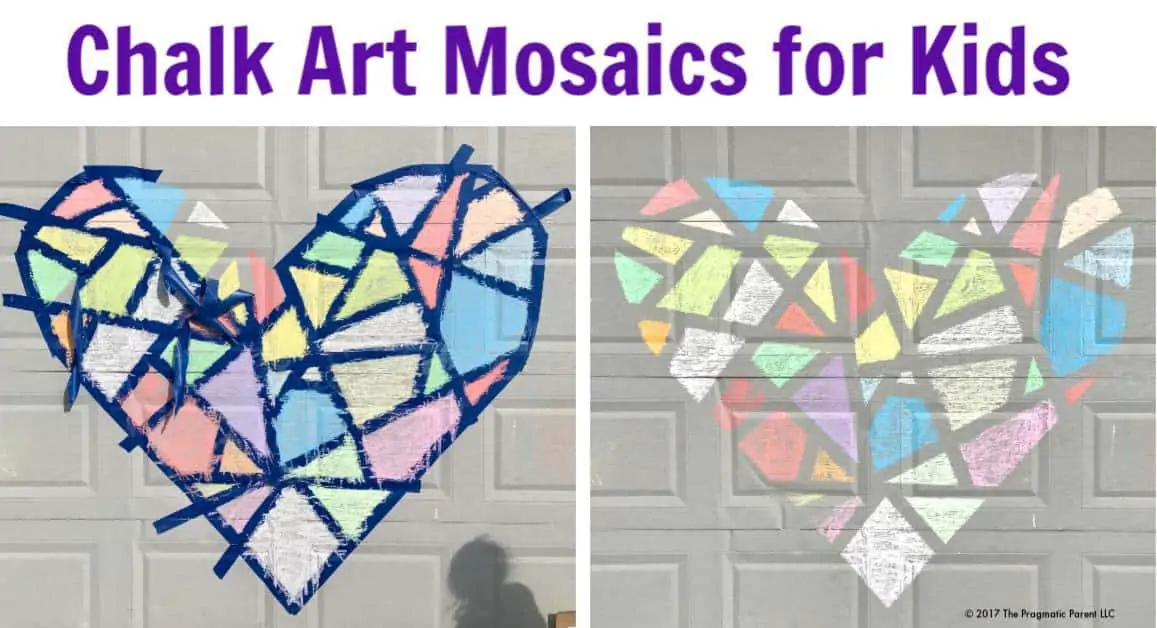
Here’s the design we created on our garage door, below. It’s a giant heart. My kids have received so many compliments about how wonderful it looks, but also, how touched people who are on walks through our neighborhood find the symbol in this time of what our world is faced with.
(Plus, it makes our dinged up garage from baseballs and hockey pucks, look a little bit better.)
More Activities for Kids:
- FREE Nature Scavenger Hunt PDF Printable for Kids
- List of 98 Kid-Approved Indoor Activities for Kids on School Break/Closure
- The Best Inside Activities for Entertaining High Energy Kids
- 25 Easy Craft Ideas for Kids to Make at Home (Surprisingly Simple Craft Ideas)
- 100+ Genius Responses for When Your Kid Says “I’m Bored”
- 50 Activities & Experiments to Keep Kids Learning in Summer
- 8 Arts & Craft Projects: Easy Things for Kids to Make and Sell
- Camping with Kids: 21 Camping Games & Activities to Entertain Kids
- Genius Hacks to Make Camping with Kids Fun & Stress-Free
- Creating Screentime Rules for Summer (Free Printable)
- School Break Plan for Parents & Kids
Want even more?
Shop All Parenting Resources
Shop all of our parenting resources from self-regulation tools and managing big emotions to building self esteem and confidence. There are resources for all seasons of life!
